Note: Support for 3D on mobile devices may vary, view the system requirements for more information.
This sample shows how to add images in an image service in image space instead of projecting them to the map coordinates. An instance of ImageryLayer is added to a Map in a MapView in its original image coordinate system. The image coordinate system allows you to display your images in a 2D MapView without any distortion. In some cases, converting images into map coordinates can cause your images to look skewed or distorted because of the various transformations and terrain corrections that are used. Many imagery-centric workflows require displaying images in image coordinate systems instead of map coordinates (geographic or projected coordinate systems). For example, oblique images are distorted significantly when displayed in map coordinates but can be displayed nicely in a top-up view without distortions using an image coordinate system.
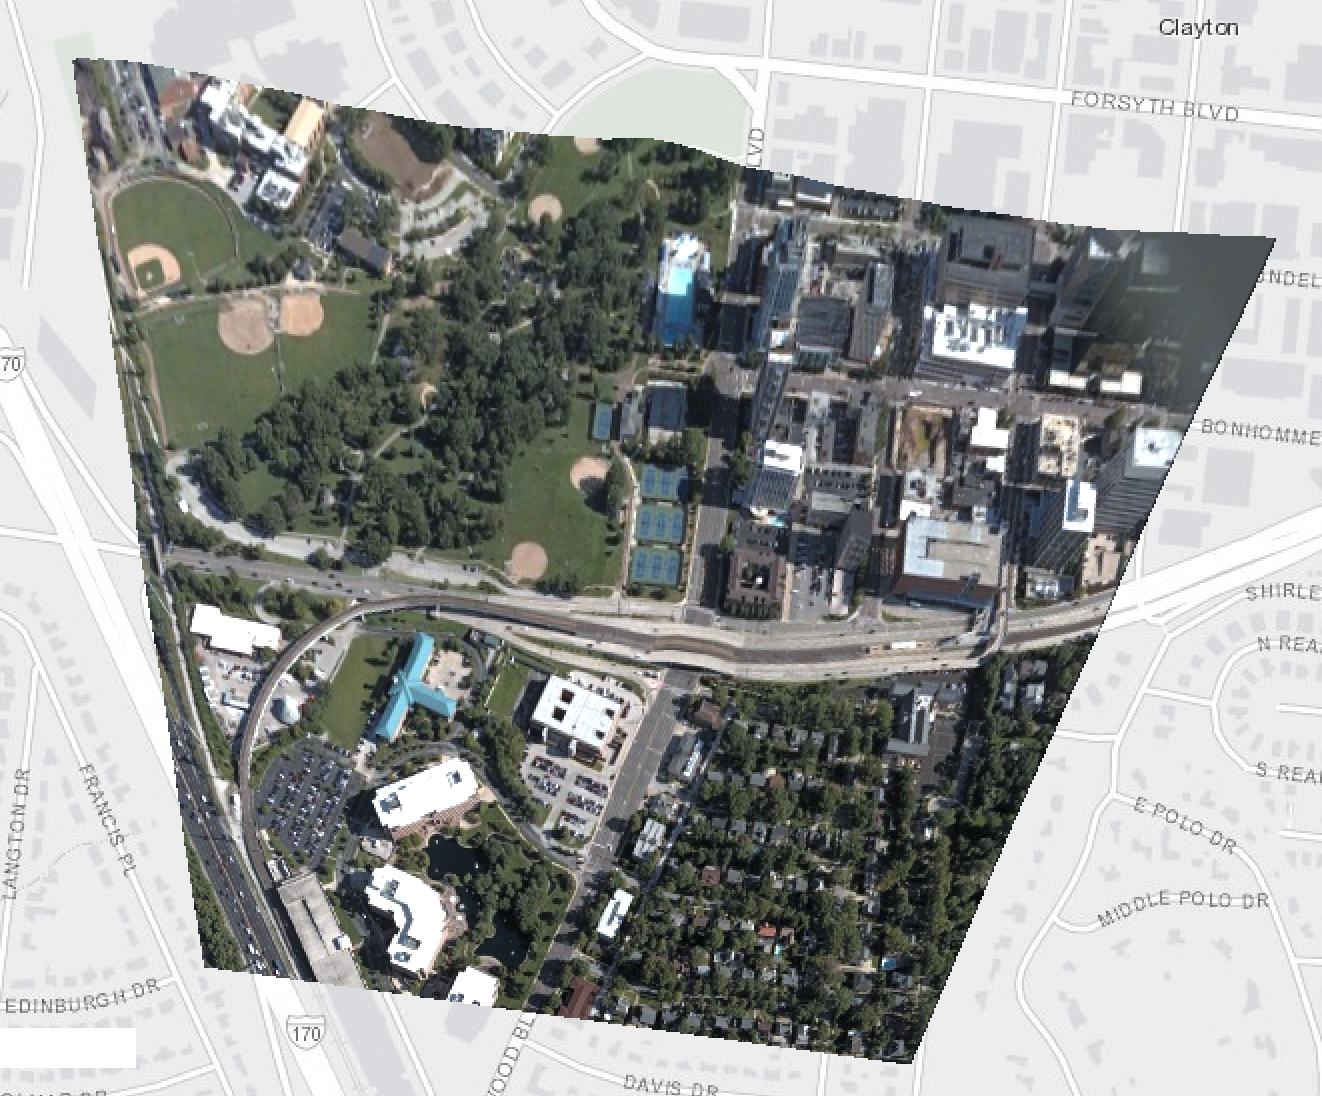
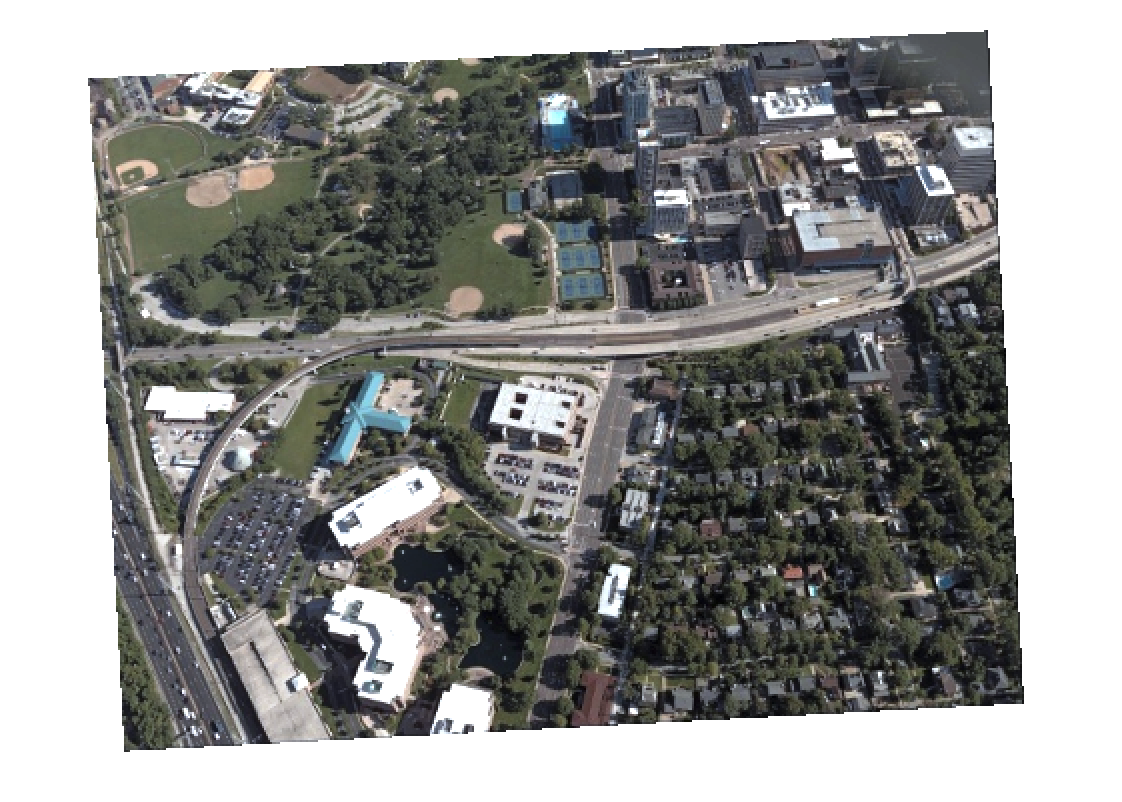
The following two images show how the same image look different when it is displayed in its original coordinate system versus in WGS84.
| Image in WGS84 | Image in its coordinate system |
|---|---|
 |  |
How it works
When the app loads, an ImageryLayer is initialized with a mosaic rule for a specified image id.
// imageId will be used to set the mosaic rule on the layer
// Initial value to be set when the app loads.
var imageId = 1599;

// new imagery layer
layer = new ImageryLayer({
  url: url,
  mosaicRule: {
    method: "lock-raster",
    operation: "first",
    lockRasterIds: [imageId]
  }
});
Once the layer is initialized, setViewIcsInfo() is called to set up the view for the ImageryLayer. In this function, getCatalogItemICSInfo() is called on the layer with the specified image id. This method gets the image coordinate system of the image. This coordinate system is then used to set the view's spatialReference.
// This function is called when the app loads and
// when users makes a new selection for raster ids from
// the itemIds dropdown. It will recreate MapView using
// ics info returned for the specified raster
function setViewIcsInfo(imageId){
  // get the image coordinate system of the item in an image service.
  layer.getCatalogItemICSInfo(imageId).then(function(info) {
    var icsInfo = document.getElementById("icsInfo");
    icsInfo.innerHTML = "Image id: <b>" + imageId
  + "</b><br/> North direction: <b>"
  + Math.round(info.northDirection) + "</b>";
    // use the short-handed ics representation
    // the server will lookup the spatialReference for the raster
    var spatialRef = {
      imageCoordinateSystem: { id: imageId }
    };

    // create an extent for the map view using extent info
    // returned in ics info
    const viewRect =  document.getElementById("viewDiv");
    const width = viewRect.getBoundingClientRect().width;
    const height = viewRect.getBoundingClientRect().height;

    const newExtent = info.icsExtent.clone();
    const scaleFactor = 8;
    newExtent.xmin = (newExtent.xmin + newExtent.xmax - width * scaleFactor) / 2;
    newExtent.xmax = newExtent.xmin + width * scaleFactor;
    newExtent.ymin = (newExtent.ymin + newExtent.ymax - height * scaleFactor) / 2;
    newExtent.ymax = newExtent.ymin + height * scaleFactor;
    newExtent.spatialReference = spatialRef;

    // set the view container to null so that we can display the selected raster
    if (view){
      view.container = null;
    }
    // set the view spatialReference and extent
    view = new MapView({
      container: "viewDiv",
      map: map,
      spatialReference: spatialRef,
      extent: newExtent
    });

    view.ui.add(selectDiv, "top-right");
  });
}